What Are PCB Mounting Holes?
PCB mounting holes refer to the holes that are drilled through the printed circuit board (PCB), so the board can be fixed on a chassis or enclosure. Typically, these holes are positioned at the board’s corners and have a larger diameter compared to other holes on the board. And a copper pad or annular ring surrounds them to ensure a stable connection between the mounting hardware and the board.
Mounting holes can be classified into two types based on their conductive layer: plated and un-plated mounting holes. Plated mounting holes are not only useful for creating electrical connections between different layers of the PCB, but they also serve as secure anchor points for screws, bolts, or other hardware that make components firmly fixed on the board. As to un-plated mounting holes, they are mainly intended for mechanical applications and do not require a conductive layer. The un-plated mounting holes may need to be kept isolated and require a keep-out zone to prevent any interference with other components or traces on the board.
PCB Mounting Hole Size
Mounting holes in PCBs do not have a fixed size, but there is a range of standard PCB mount drill sizes that can be used. Typically, the size of a mounting hole can range from 5 mils (0.13 mm) to 20 mils (0.51 mm), which is decided by the specific requirements of the PCB and the components being used on the board. And it is also decided by the overall circuit board size and the type of mounting. Larger mounting holes may be more expensive, but they can accommodate your design requirements, while smaller sizes may cost more due to the additional material and labor required.
It is important to note that selecting appropriate mounting hardware involves considering various factors beyond just the diameter of the hole. The depth, shape, and threading of the hole are also essential factors that can vary depending on the specific requirements of the PCB and its intended application.
How to Make Mounting Holes on PCB?
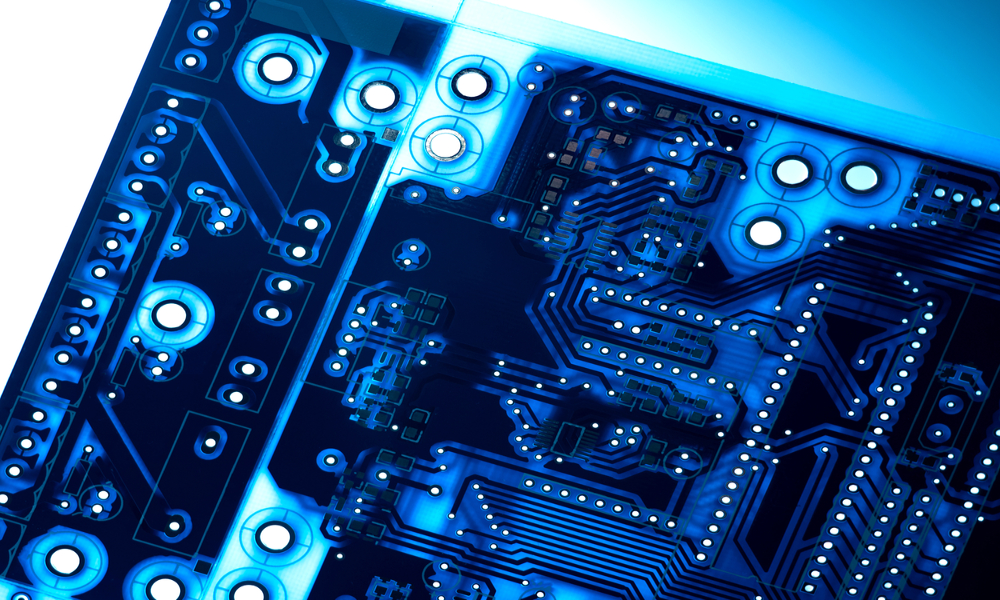
Although the process is straightforward for PCB mounting, it may require some practice before you can perform it yourself. Below we list the process of making PCB mounting holes step by step:
- At the very beginning, we need to choose the appropriate material for printed circuit boards.
- Cut a hole by using a laser cutter, or a drill press, and an abrasive wheel that can avoid burrs on the edges of the hole.
- Create an exact copy of the hole in your material by mirroring it to ensure that the mounting holes are symmetrical. Then, cut out two circles that are the same size as the mirrored image of the original hole.
- Once you have the two circles of the same size, place one inside the other and use either clear tape or glue to keep them securely together until you are prepared for wave soldering.
After creating the mounting holes, the PCB layout must be checked to ensure they are positioned correctly and have no clearance issues with other components or traces on the PCB.
PCB Mounting Holes Design Considerations and Tips
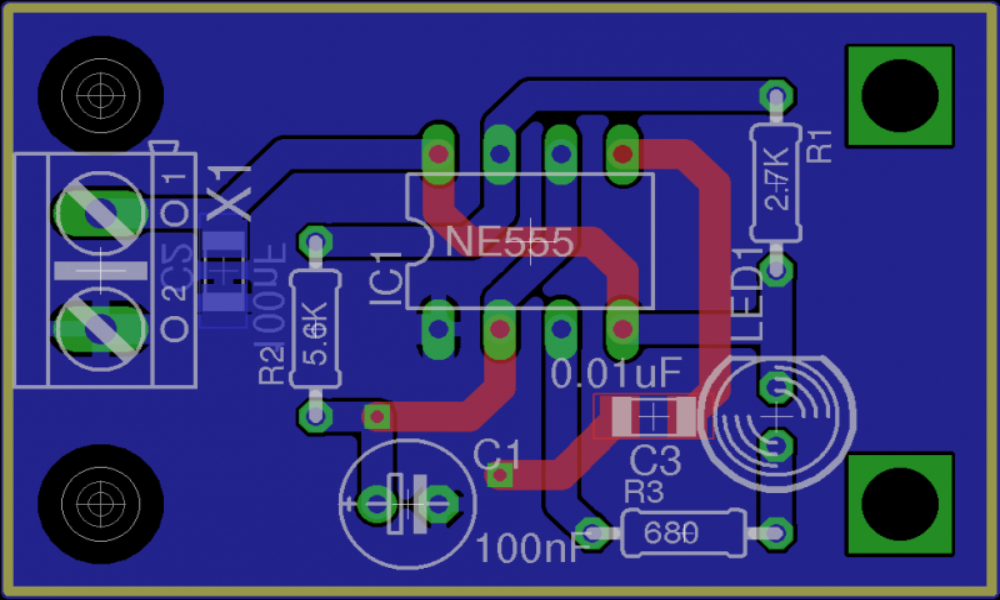
Hole location: Proper alignment and spacing are critical when it comes to the location of the mounting holes. It’s essential to ensure that they match the location of the mounting points on the mechanical component, to achieve a secure and stable mount.
Hole diameter and spacing: To make sure that there is enough room to assemble other components on the PCB, we need to take the diameter and spacing of the mounting holes into consideration.
Hole plating: Plated or non-plated mounting holes can be used based on the application’s requirements. Plated holes provide additional mechanical stability and can help prevent damage to the PCB during the mounting process.
Board thickness: Board thickness is a crucial factor when designing mounting holes. The holes’ diameter and depth must be appropriate for the thickness of the PCB to ensure a secure and stable mount.
Clearance: Adequate clearance around the mounting holes is crucial when designing the PCB. The clearance holes should be appropriately sized to prevent interference or damage to other components on the board.
Here are some tips to design PCB mounting holes better:
- For the best corrosion resistance, consider plating your PCB mounting holes. This ensures that your screws won’t rust and cause any issues down the line.
- To avoid any interference from EMI or electromagnetic radiation, using ground nets is a reliable option when designing your PCB mounts. This helps to maintain the reliability of your equipment and system.
- Avoid including any floating metal bits in your design, especially if they are connected to ground nets. These can cause EMI and negatively affect your circuit board.
- It’s important to ensure that all of your mounting holes are large enough to accommodate a common fastener. This guarantees a proper fit and prevents interference with other components and systems on the PCB.
- Before soldering your components onto the PCB, it is crucial to meticulously examine the surface for any blemishes, such as scratches or dents. These can cause issues during the soldering process and affect the functionality of your circuit board.
Final Thoughts
In conclusion, PCB mounting holes are a critical aspect of any PCB design that requires mechanical components to be attached securely to the board. By following the design rules outlined in this blog, you can create mounting holes that will ensure a secure and stable mount for your mechanical components. However, if you lack relevant experience and expertise in PCB mounting holes, it would be better to consult experts in this field. MOKO Technology has been focusing on PCB design and manufacturing for more than ten years, we can provide you with professional guidance to ensure the success of your project.
